Archive for the 'Plastic Modeling (PLAMO)' Category

1/100 MG Rx-78-2 Gundam

Saturday, May 6th, 2006

Rx-78 2 Gundam Ver 1.5
Designer/Modeler: Ray

Manufacture: Bandai
Scale: 1/100 Master Grade

Release date: June 2000

Status: Finished on March 27, 2006


Review:

Skill Level: 4/10 - For a Master Grade model this was pretty easy, mainly because the engineering of it isn’t as advance as the current MGs. You can complete this model without any glue, but since it’s a MG and is more complex then a 1/144 model, I give it a 4.

Painting: 2/10 - Master Grades are usually molded in color, sometimes even their tiny parts are molded in color. So if you’re fine with not painting you model, then this is for you! But, I like to paint my models and this was very easy to paint, no masking was required. Just paint the color the part was molded in, it’s very straight forward.
Quality: 8/10 - The Quality on this model is great, no flaws or problems, but could be better, since it is a Master Grade.
Design: 8/10 - No problems here either, the design of the model was great, everything is proportional. It even comes with it’s full armor! and looks very cool in it.

Engineering: 8/10 - This MG is a new version release of the Rx-78, thus the Ver. 1.5, The engineering of the legs on this is just like the perfect grade Rx-78! it’s amazing!

Overall: 8/10 - You can’t go wrong with a Master Grade model, they’re just amazing.


Background Information:   

       The Gundam is one of three prototype mobile suits secretly developed by the embattled Earth Federation. After suffering tremendous losses to Zeon’s mobile suits earlier in the war, the Federation set out to create its own, using the very latest advanced technology. The Gundam is the most successful of these prototypes, a close-combat mobile suit protected by tough Luna Titanium armor, and armed with both lethal beam sabers and a devastating beam rifle as powerful as a battleship cannon. It’s also equipped with an advanced computer which learns from its pilot, ultimately enabling it to operate the Gundam automatically. In the hands of accidental pilot Amuro Ray, this one prototype mobile suit proves to be the equal of any Zeon weapon.
Source: Gundam Official


Specs:

Pilot: Amuro Ray

Head height: 18.0 meters

Base weight: 43.4 tons

Full weight: 60.0 tons

Generator: 1380 kW

Thrusters: 55,500 kg

180 ° turn: 1.5 seconds

Sensor radius: 5700 meters

Armor materials: Luna Titanium alloy

Armament:

60mm vulcan gun x 2
Beam saber x 2
Beam rifle
Hyper bazooka
beam javelin
Gundam hammer
Hyper hammer


Production Notes:

       I got this model when I was in Hong Kong, in 2000. I was bored as hell at my Grandmother’s place and since there was no internet, I had nothing to do. The cartoons weren’t even on yet either. So I went down to the mall to pick up some models for myself. Then I ran into this! I looked at the side of the box, and I was amazed, I was like “WOW! this comes with mad weapons!” It came with the javelin, Bazooka and the chain and ball thing (Hyper hammer). The last time I check on the Rx-78 MG, I don’t remember it having so many weapons, but one thing I didn’t know was, they released a Ver 1.5. Since I had no access to the internet, I had no idea what was going on.

       The only problem I had with the model, was it’s shield. the only way for it to hold the shield up was by making it’s hand hold the shield handle. Over time, the hands would get loose and the shield would get loose. So I made a little mod for the shield.
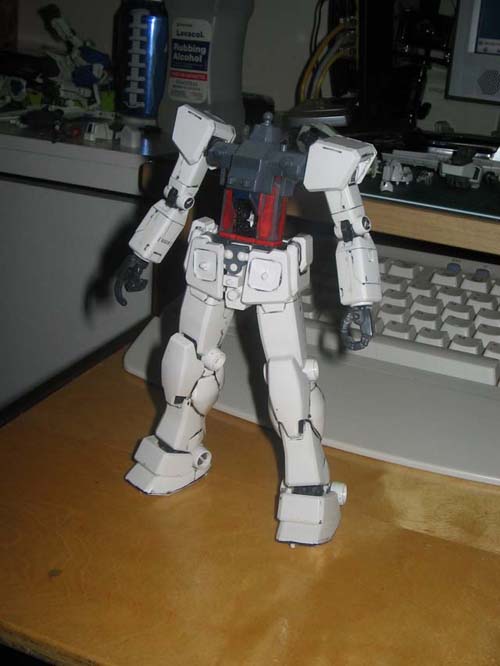
  

- This is how it looked before I painted it. Ok, I know it’s a bad picture, but it’s all I have for a before pic.


- The Internals of the legs.


- Flexing the sexy legs.


- Showing off the legs again.


- The Base colors full painted.


- A picture of how I sometimes mask my parts. I used Play-dough.


- Everything’s finished, Ready for decals.


- I like to use scotch tape for my decals, because they’re clear and it allows me to position my decals better.

- They’re also easy to peel off without damaging the paint and don’t leave a sticky residue.


- Don’t put tape over already decaled area, because the tape will rip them right off.


- All decals complete.


Finalized pictures:


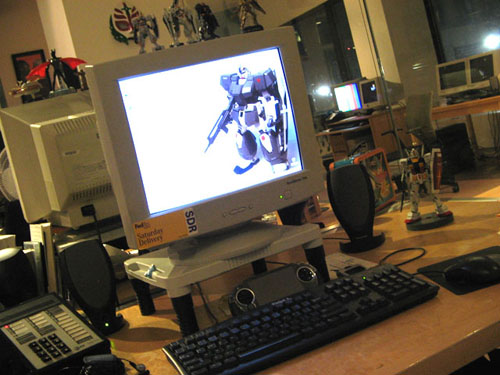
- The model is now placed on my desk at work
  

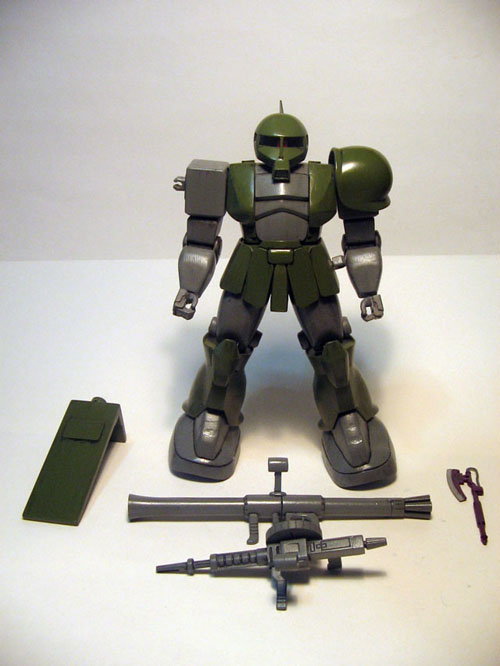
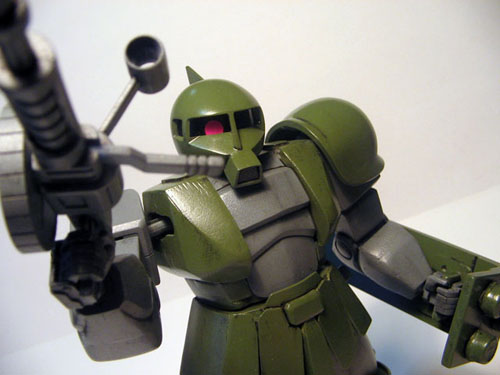
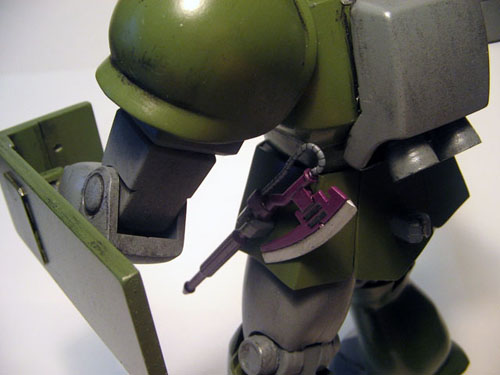
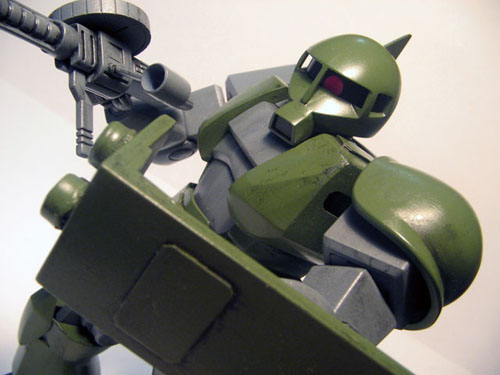
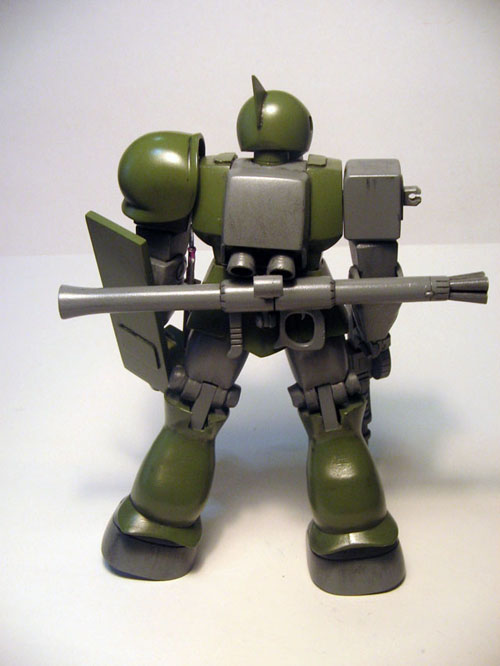
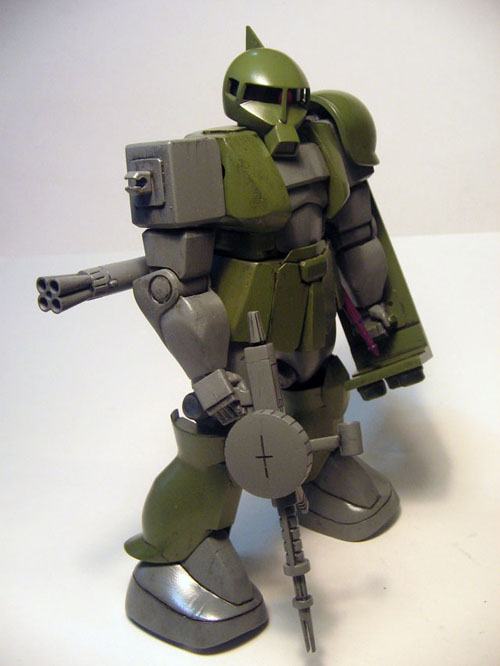
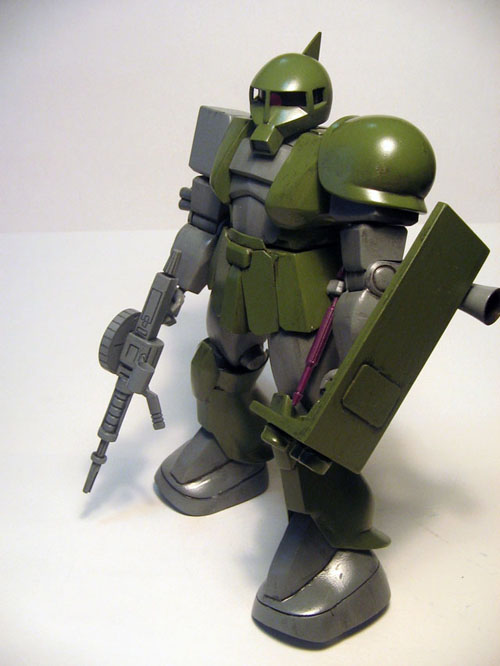
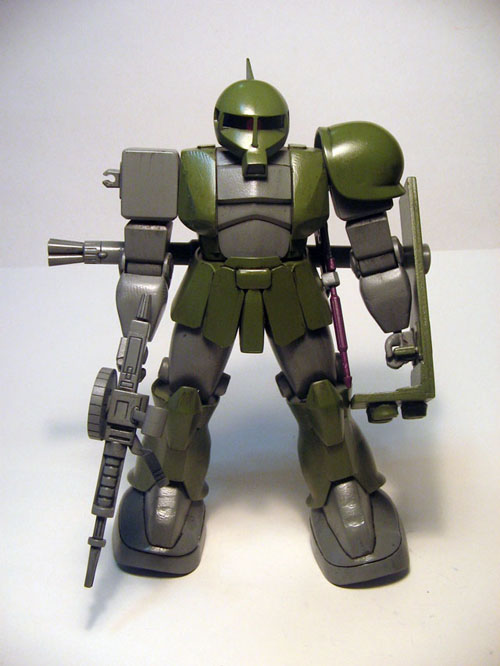
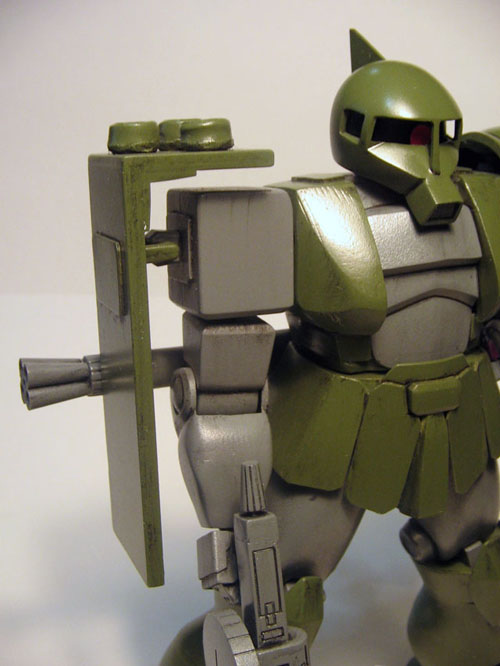
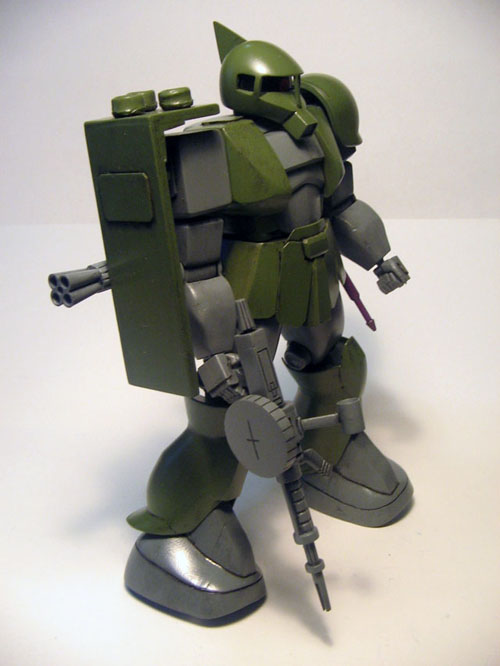
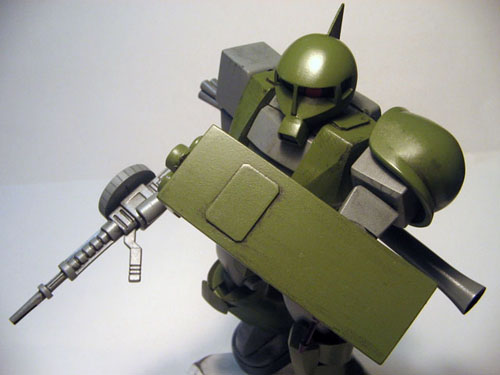
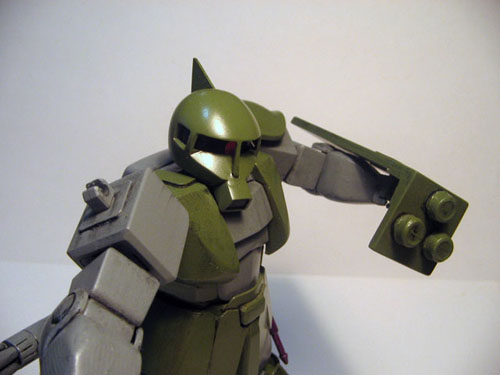
1/100 Vintage Zaku

Sunday, April 2nd, 2006

MS-05 Zaku I
Designer/Modeler: Ray
Manufacture: Bandai
Scale: 1/100
Release date: 1982
Status: Finished on March 17, 2006


Review:
Skill Level: 9/10 - This model kit requires painting and gluing, because it’s an old model kit, they didn’t have the technology to make everything snap together.

Painting: 5/10 - For an old kit, it’s actually molded in color! but the quality of the plastic doesn’t look so good, so painting is required.
Quality: 2/10 - The Quality of this model is horrible, but it’s expected from an old kit.
Design: 2/10 - Lots of the parts are un-proportional.

Engineering: 1/10 - There is nothing special about the engineering of this model.

Overall: 2/10 - The model may have a bad rating, but it’s always fun to work on an old model once in awhile. They’re also cheap.
  

Background Information:    
     
The Zaku I is the original incarnation of the Zaku II, produced a few years before the start of the war. Now considered obsolete, it’s used only by non-combat units like the supply corps. One of these primitive Zakus is assigned to Lieutenant Gadem’s Papua-class supply ship, and the old veteran recklessly takes it into battle against the Gundam.
Source: Gundam Official
       

Specs:

Head height: 17.5 meters

Base weight: 50.3 tons

Full weight: 65.0 tons

Generator: 899 kW

Thrusters: 40,700 kg

180 ° turn: 2.9 seconds

Sensor radius: 2900 meters

Armament:

105mm Machine gun
280mm Bazooka (option)
Heat hawk (option)


Production Notes:

       It’s a funny story how I found this model. I was sitting at home on a Saturday Morning, working on my MG Rx-78 Ver 1.5 and all of the sudden, I get a phone call from my friend, he tells me he found some cheap vintage models at some store on 8ave (Brooklyn’s Chinatown). I got all excited and was like, “where!? which models!” he names them, but isn’t sure what they were, so he picks me up and drove over to the store. Once we got there, I saw the models in this wooden cart in street and the boxes were in the worse condition, it looks been through the worst rain and snow in the winter. But that didn’t stop me, I was drooling over the vintage models with ideas running through my mind. I quickly bought them all before anyone else bought them. “Wow Ray, looks like you saved those models, I bet no one bought but you, the store owner was probably saving it just for you. Maybe you should go ask them for a discount.” I asked them for a discount and I got one! I complained how the boxes were worn out and messed up etc.. LOL I wish I could’ve saved the boxes, but they were too dirty and worn out to keep.

       Once I got home, I totally forgot about my Rx-78 and went straight to work on the 1/100 Vintage Zaku. Took me 6 days to complete!
  

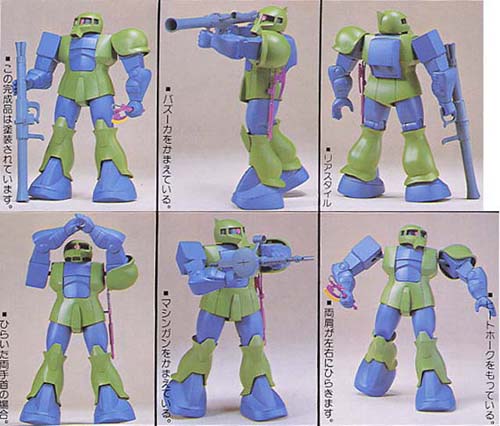
- The Box, If only the model looked like the box art.

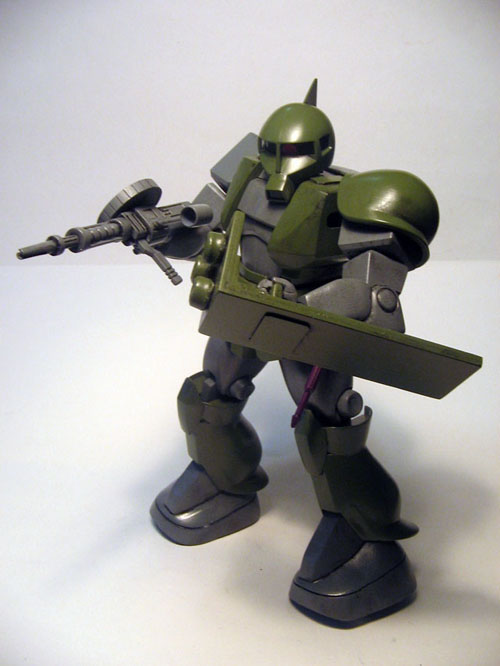
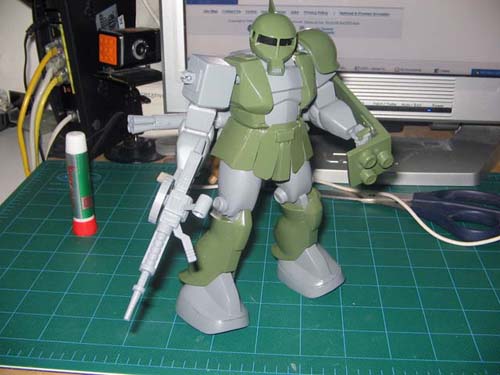
- This is how it would look if I built it stock.


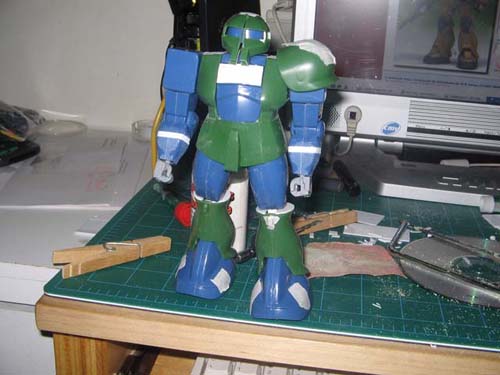
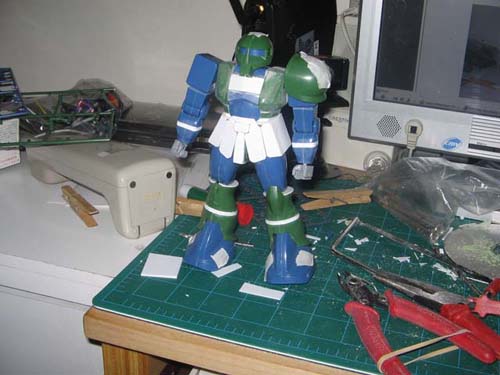
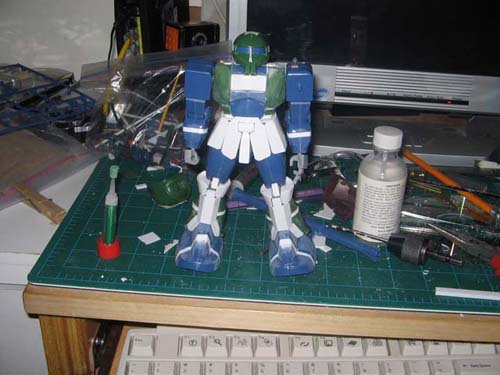
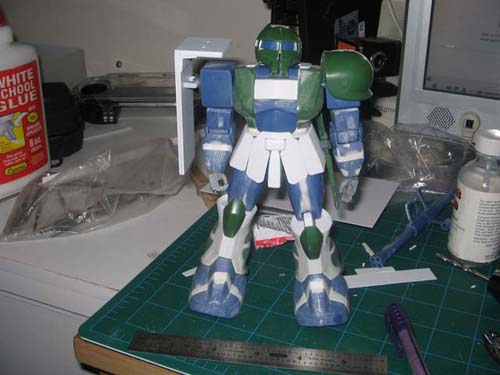
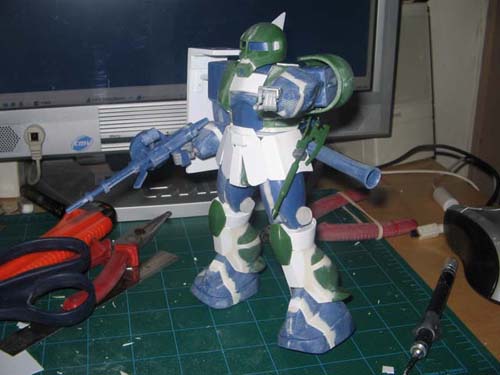
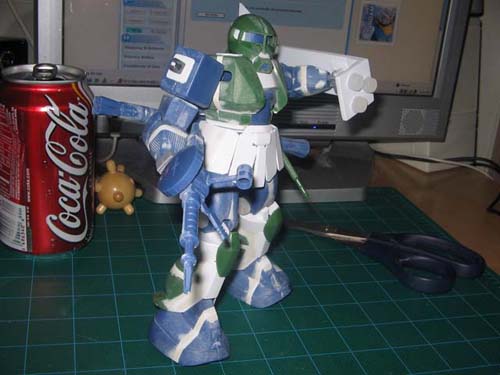
I haven’t got time to write an in-depth walkthrough on the production, but here are the pictures of the stages of development.


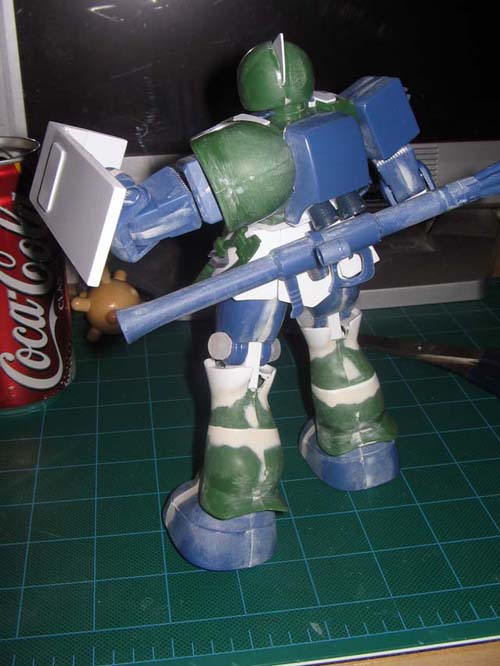
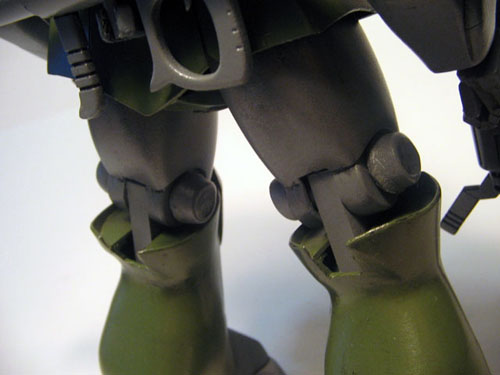
- I extended the Forearms and made Knee joints.


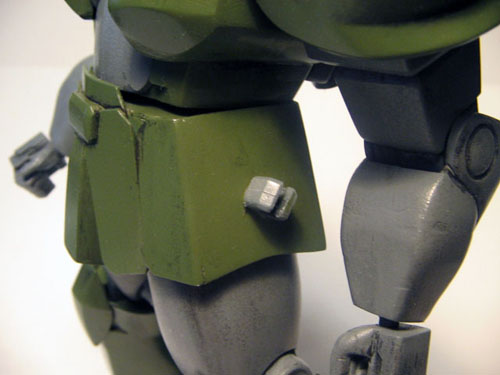
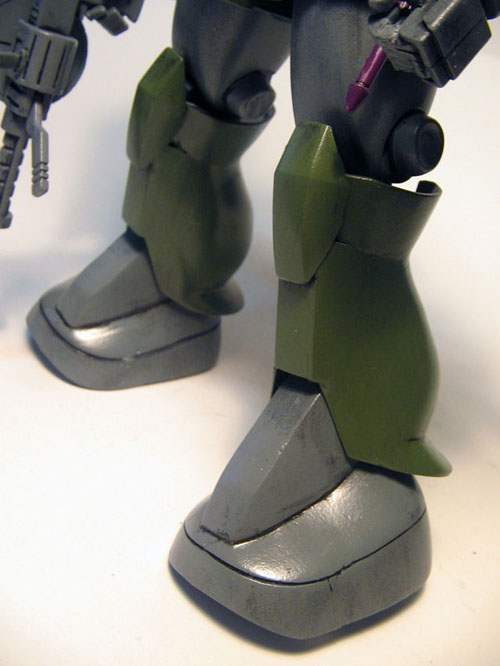
- Extended the legs, remade the skirts and extended the chests.


- Added armor to the legs.


- Added a shield, and puttied the parts.


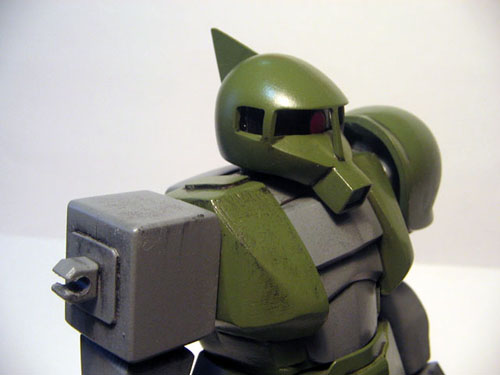
- I raised the snout of the Zaku.


- Almost ready for painting.


- Base coat painted and weathering below.


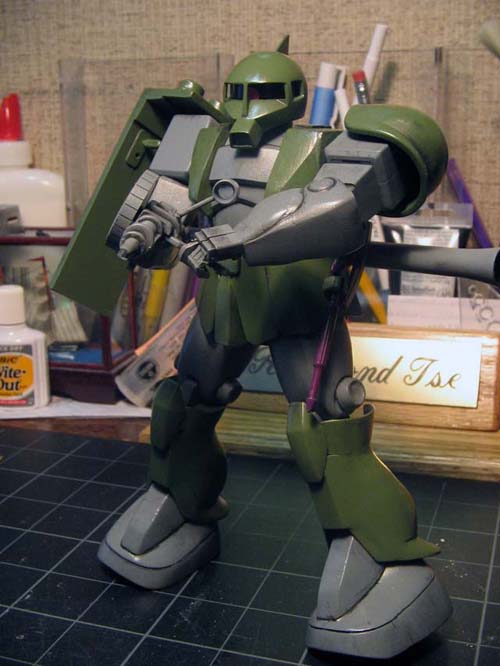
Finished Pictures!


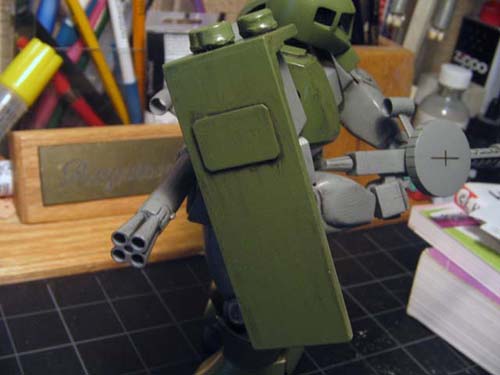
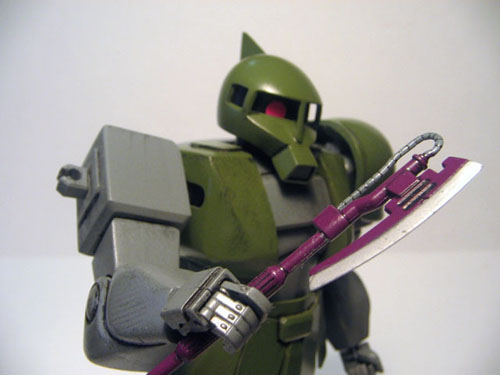
- The armaments


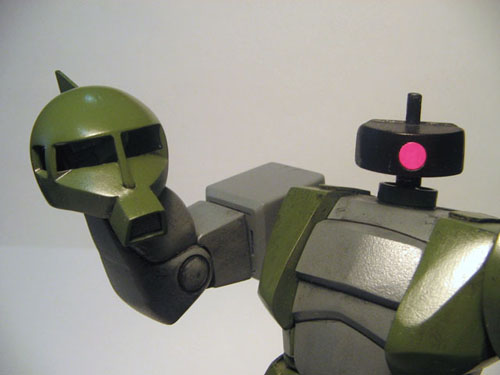
- The Zaku head and the shield holder.


- Added new boosters and bazooka rack.


- Remade the Heat hawk holder.


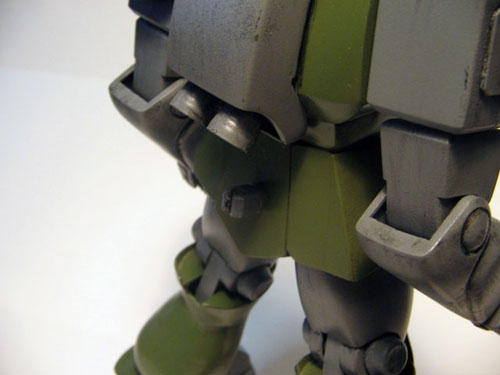
- Added new Knee joints


- The new redesigned Legs.


- The helmet can be removed to move the mono eye.


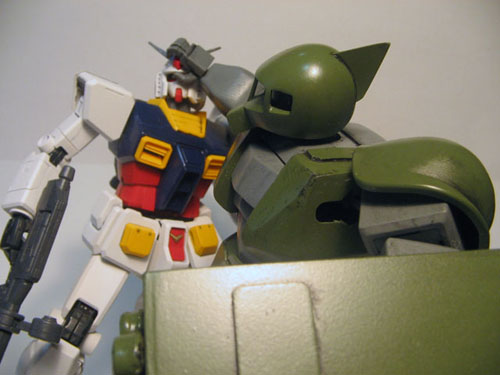
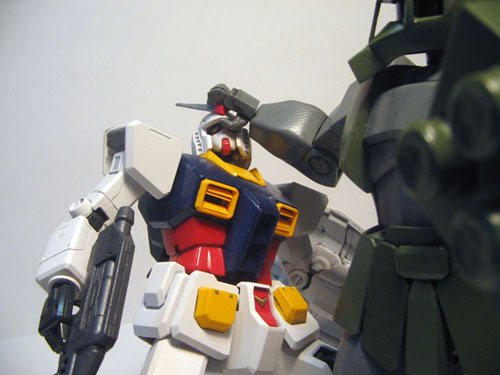
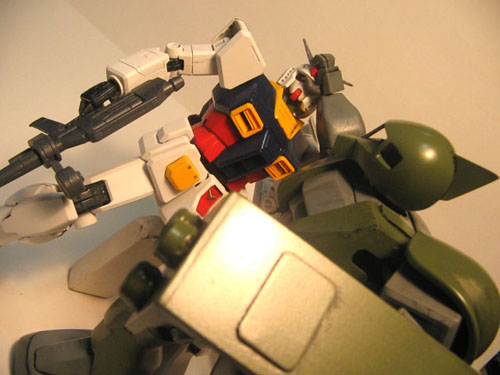
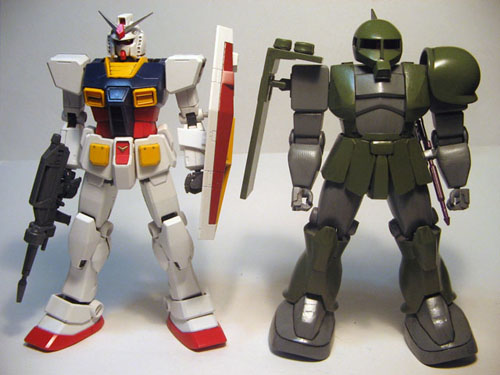
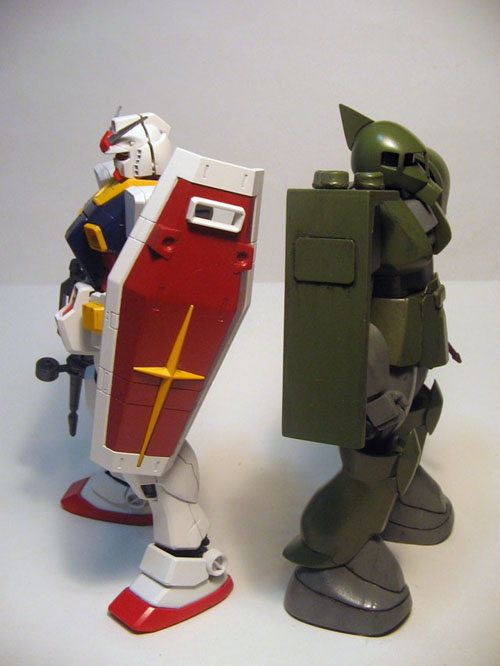
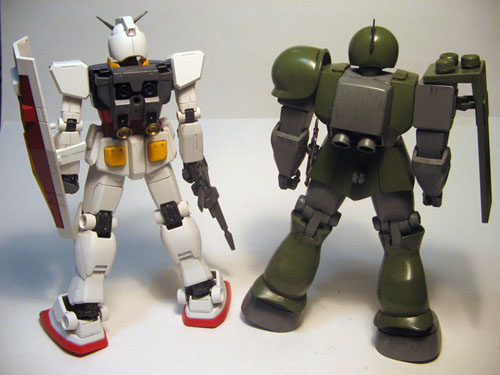
Size comparison after modifications.


1/100 MG RX-78 NT-1 Alex

Thursday, March 16th, 2006

RX-78 NT-1 Alex Gundam
Designer/Modeler: Ray
Finished: March 14, 2006
Scale: 1/100 Master Grade
Status: Finished

Review:
Skill Level: 5/10
Quality: 8/10
Design: 8/10

Engineering: 5/10

Background Information:    
The RX-78NT1 is the fourth Gundam unit created by the Federation Forces during the One Year War. Redesigned for use by ace pilot Amuro Ray, whose success in battle was seen as evidence of his Newtype powers, this Gundam was given the designation “NT1.” Unlike Zeon’s Newtype weapons, the Gundam NT1 doesn’t have a psycommu interface; instead, its designers concentrated on making it highly responsive and maneuverable. Its special features include magnet-coated joints for increased responsiveness, a new type of panoramic cockpit display, and pop-up gatling guns in its forearms. The Gundam NT1 can also be fitted with optional Chobham armor for extra protection, increasing its overall weight to a massive 95 tons.
Source: Gundam Official
  

Specs:    
Pilot: Christina Mackenzie
Head height: 18.0 meter
Base weight: 40.0 tons (50.0 tons in full armor mode)
Full weight: 72.5 tons (95.0 tons in full armor mode)
Generator: 1420 kW
Thrusters: 132,000 kg (174,000 kg in full armor mode)
Apogee motors: 19
Armor materials: Luna Titanium alloy
Armament:
60mm vulcan gun x 2
beam saber x 2
90mm gatling gun x 2
beam rifle
  

Production Notes:

February 04, 2006:

       Built out of box and painted. One thing I like about Master Grade models is, they don’t need puttying. I had this model for along time, this was actually my second Master Grade model. If you like to build models without painting them, then a Master grade is a good choice for you. I have no problems with this model except for decided to weather have the armor on it or not.

- Parts ready for spray paint.


- Working on more then one model at a time.


- Drying the parts.


- When spraying parts flat on the sheet, sometimes you will miss some of the parts on the model. To get those complex parts, filled in, you would need to spray it separately.

- What I did here was put a ball of clay on the inside and stick a rod through it. Then spray the angles that I missed.


- Slowly putting the parts back together.


- The Internal parts on the legs, this kind of detail was a big deal back then.


- This marking here says “left” and make sure you put this on the left side of the model.


-   This is right.


- The shoulder is made of a special rubber joint.


- The backpack detail.


- Almost done!


- Finished!


Model Building - Lesson 2: Putty

Monday, February 27th, 2006


Welcome to model building lesson 2.

Today’s lesson is on how to use putty. Putty has many uses, but it’s main uses are for filling seams, gaps and holes.

In lesson 1 we learned how to build a basic model without painting it or doing anything to it. I’m sure after reading lesson 1, you guys have gone out and bought models of your own and start building your own models, right…?

Anyway, for those who have started building their first model, I’m sure you guys notice gaps in parts where two parts would join. The image below is an example.


- This is an example of the “gap,” also known as seam lines. You can “fix” (or cover up) this problem by using putty and covering up the seams.


- First, we need to get some cement glue and put it over the seam. Make sure the glue seeps into the seam.


- We then squeeze the parts together; letting the excess glue ooze out.

- I usually use clamps and clips to hold the two parts together; this increases the strength of the glue’s bonding with the plastic.

- While one part is drying, move on to the next.


- When the part is done drying, it’s time to take out the putty. I prefer to use white putty because it’s an easy color to cover up, no matter what colors you are using.

- Also, this stuff has a smell to it, so make sure you work in a well ventilated room. (The smell isn’t as bad as spray paint, but it smells like cement glue)
  

- Putty comes in a paste like form, and if you don’t like to get your hands dirty, you can switch your model knife blade to a dull one and use it for puttying.

- I personally like to use my hands for puttying, that way I can control the putty better.


- Just take the putty and apply it onto the seam. It doesn’t matter if it’s bumpy or uneven, everything will be sanded out at the end.

- Always apply a good layer of putty, a thin layer isn’t good enough.

- Remember to keep your surrounding areas in mind, sometimes you don’t want to get the putty into certain details of your model.

- Getting the putty out of the detailed areas may ruin the details and sometimes it’s annoying to do.


- After the putty is dries, you can cut off any sloppy chunks with a model knife and start sanding.

- I recommend you use a 200 grain sand paper followed by a 400 grain for finishing.

- If the putty covered up the panel lines or detail lines of the model, use the model knife to carve it back out .


- Look how smooth it is now! you don’t even notice the seam anymore!

- Time to paint the model. I won’t go into much detail on this lesson about painting a model, but before you paint your parts, make sure you clean them first, you don’t want any dust showing up on the paint.


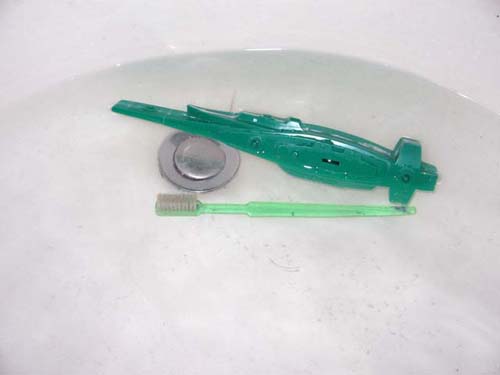
- This is how I clean my models, I put it under warm running water and brush it.

- In this picture you can also see the dust from sanding the putty floating in the water.


- Remember, if you’re going to paint something, you’ll need to mask out parts you don’t want painted.


- I won’t go into full detail about masking, because that’s saved for another lesson. But for these joint areas, I usually bend the joint down and mask them, then I put it back into a straight position, to make sure the visible areas are covered properly.


- Taped down and ready for spray painting. I will also be spray paint a non-puttied part for comparison.

- Also, remember, before you spray paint any parts, you will need to put primer on it, especially puttied parts.

- While the parts are drying, I’ll explain why we need to use primer below.


- Here are two plastic sheets, each one I have sanded in equal amounts.


- Sheet #1 will only be spray painted, while Sheet #2, will be primed and spray painted.

- Primer works like a base coat and it also helps cover micro scratches.

- If you’re going to spray paint something that is white or bright colors, use white primer. For dark colors, you can use grey primer.
- Grey primer can also help dull brighter colors.


- Ready for spraying! I’ll be spraying these parts white, and the result……


- Sheet #1: Without primer the scratches from sanding are still visible.


- Sheet#2: You can hardly see any scratches with primer as a base coating!

- Ok, the parts are dried and now we go back to the model.
  

- Results without putty.


- Results with putty!


Conclusion, putty makes the model look more real and nice, but if you feel you don’t need to use putty on a certain part, then there’s no need to putty it. Remember this is your model and you can do whatever you want to it, as long as you like it. Modeling takes time and patience, it also takes many mistakes, it took me a while before I mastered it, and I also messed up a lot of models. So be prepared to make mistakes and learn from them. I’m here to help you make the least mistakes possible. As we keep progressing on with the lessons, things will start to get harder and harder. So be prepared and try these techniques on a cheap model before moving on to anything big. Your skills will definitely increase.


1/35 Gasaraki Ishtar Mk-II

Friday, February 17th, 2006

ISHTAR Mk-II
Designer/Modeler: Ray

Finished: 02/17/2006
Scale: 1/35
Status: Finished


Review:
Skill Level: 7/10
Quality: 8/10
Design: 9/10


Background Information:
Appeared in the anime Gasaraki. Piloted by Miharu.
  

Specs:

Model: Metal Fake Experimental Model 02
Height: 4.6m
Weight: 3.0 tons

Total Weight: 5.6 tons

Max Speed: 68km/h

Max Operative Limit: 45min

Armament:

65mm Automatic Cannon

Guillotine


Colors:
Light Sand, Smoke Grey


Production Notes:

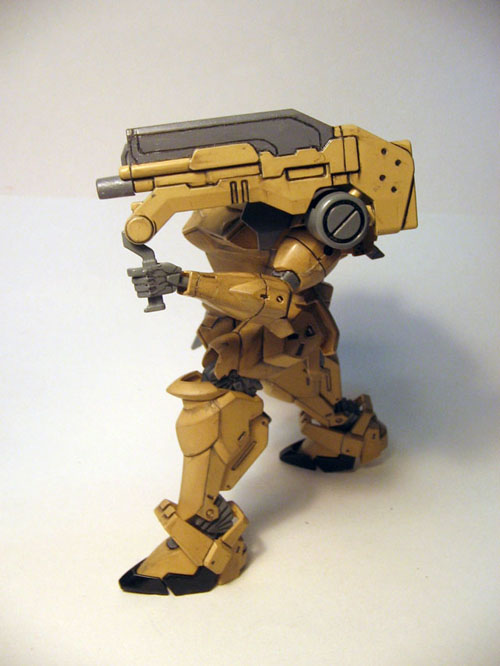
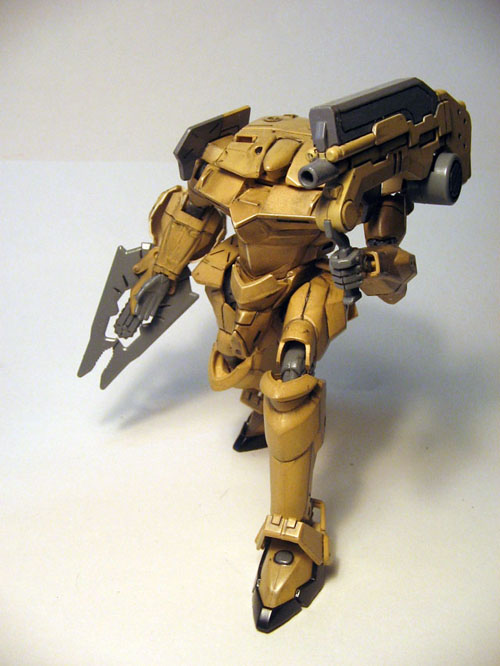
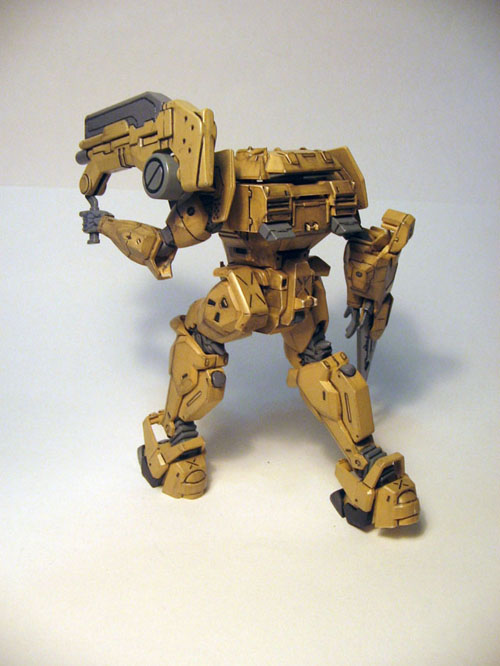
       I’m finished with my Ishtar MK-II! I personally like this model, it looks cool and unique, while I was building the model it made me feel like I was building my tank model, maybe it was because of the color or maybe because it has tank like features. The rear of the model looks like a tank’s rear and the head even looks like a tank turret, which is very cool. The design also has realism in it, which is another plus! It’s something that’s different from the usual model I build. The front of the model also reminds me of the LEVs in Zone of the Enders. I just wish it came with fist hands too, I don’t really like the open palms, but I still recommend getting this model!

       But even in all the coolness of this model, there were some flaws… I found problems in the design of the arms. Other then having limited mobility on the arms, the forearms of the models didn’t snap together well, so it left a gap. I easily  solved the problem with putty. Another issue I had was with the biceps, because of the way the elbow join and shoulder joints were designed, the biceps would pop off all the time. So if you’re getting this model just use some glue on the forearms and biceps of the model.


- Me fixing up the model.


- Spray Painting.


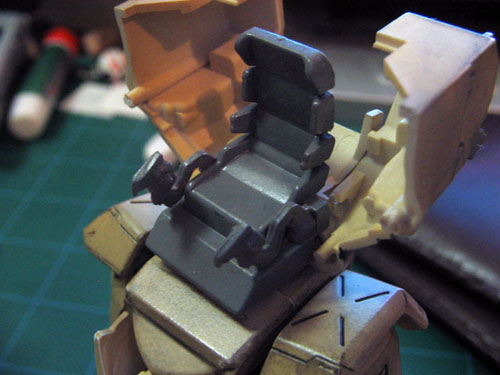
- The cockpit


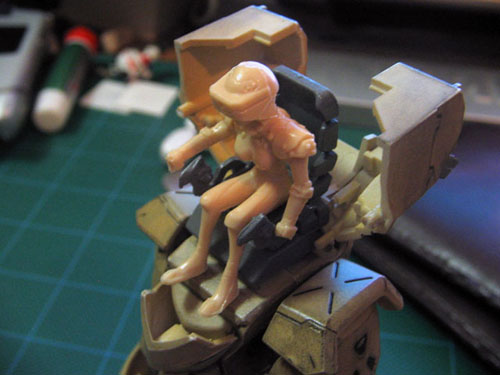
- I cut the control sticks off the figure’s hands and glue it on to the seat.


- Damn you Ray! I want my hands back!!!


- While I was waiting for other parts to dry, I started detailing the finished parts.


- Parts all dried and test fitting them.


- Model all finished and complete!


Time for the Studio Photos!


Model Building - Lesson 1: Basics

Thursday, February 16th, 2006

Welcome to model building 101!
Today we will learn the basics of model building.
Before we even start to learn how to build a model, we must have the proper
tools and work area.
Here is an example of a proper work area.
- I recommend working on a desk to prevent back pains and slouching back.
- But working on the floor is just as fine.


- It is not required to get a self-healing cutting mat, but it is required to have a neat desk.
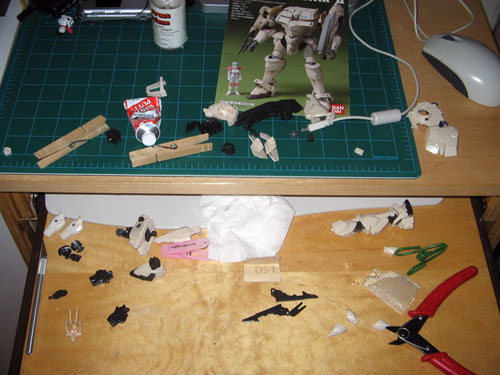
- Building a model may look like a messy job, but it requires a clean work area and good organization.

- Now that we have a good work area, we need the tools.


- These are the most basic tools of model building.
- As long as you have these tools you can build any model.

Tool #1: A Nail Clipper
The Nail Clipper is an optional tool if you’re on the advance level, but if you don’t have a modeling knife around, using a Nail Clipper is just as great. They’re also very cheap compared to the model knife.

- With a nail clipper, you can use it to cut off parts that are left by the model tree.

Tool #2: Pliers
The Pliers are one of the must have tools, they’re good for holding tiny parts that require gluing and much more.

Tool #3: Modeler’s Cutter/Nippers

- The Modeler’s cutter looks like a special narrow wire cutter. It is very important to have this, you will need this to cut the
models off the tree. Never bend or twist the model parts off the tree! Doing so will risk damaging
the part! This is a highly recommended tool for all modelers!


- The comparison between a normal wire cutter and a modeler’s cutter. Because of the Modeler’s cutter design, it allows us to cut
off tiny and delicate model parts off the tree.

Tool #4: Box cutter
The box cutter is also a useful tool to have for various purposes. such as, stabbing someone messing with your models!

Tool #5: Modeler’s Knife
With this knife it makes you an official model builder! This is a highly recommended tool for all modelers! The modeling knife is not easy to use and takes time to master it. Using it improperly will result in cutting yourself. *ouch*


- A modeling knife can fit different types of blades for different purposes but it’s not required to have optional blades.
- Even a dull modeling blade still have it’s uses.

Tool #6: Model Glue, Super Glue
As models get more and more advanced the need to use model glue is required sometimes, but it’s always something good to have around.

- If you’re going to get model glue, I recommend getting the glue that comes with brushes.

- Now that we have all our tools, it’s time to move onto the Model!

- This is the box art of the model.
- And sometimes I just hate how the box art always glorify the model kit, at the end, the model looks nothing like the box art…
- But, that’s why I’m here! I’m going to teach how to make your models look just like the box art! unless it’s one of those really really old model kits…


- Like this model for example, it’s molded in one color! All white! That means… We’ll need to paint this model.
- But, today’s lesson is about building a model and not painting it. We’re still not at the stage to paint the model yet.
- This is called a model tree, everyone calls it differently, but I call it a tree.


- Before we even start building and cutting off parts from the model tree, we must look at the instructions!

- If you can’t follow instructions, then take the model and throw it in the trash can, because your chances of messing up are 90%.
- But Ray, the instructions are in Japanese! I can’t read Japanese, and I’ll say SHUT THE ^-^ UP! Can’t you see the pictures!? Everything is nicely illustrated for you like a picture book!

- Anyway, onto the model!


- Each part on the tree is labeled, if it asks for part 8, look for part 8.
- On advance models, sometimes the trees are labeled with letters, so if they ask for C8. look for the tree labeled C and find part 8.


- This is the proper way to remove the parts from the tree, bending them and twisting them off is the improper way!
- Use the modeler’s cutter!


- After cutting the part off the tree you will mostly be left with a little excess plastic. I call these stubs.


- Another example of a Stub, there are a few ways you can remove these.


- One way of doing this is with the model knife, but if you haven’t mastered it yet, you can try the alternative.


- Using the nail clipper is a good alternative.


- The Results with the model knife are perfect!


- And the results with a nail clipper. There’s still a bit of a stub left over, but it’s good enough for beginners.


- I also recommend cutting your stubs over a model box, this way the stub shavings won’t be all over the floor or table. It makes cleaning up a lot easier.


- With all your parts cut out, you can now follow the instructions to build the model!

- You are now one step closer to building a model like a pro!